The restoration of a 1980's Williams Defender arcade machine
Control Panel rebuild [complete]
Finally got some time to work on a few more parts of the project (I’d like to blame work but actually it’s more the fact that I managed to accidentally buy a Tron arcade cabinet in between, but more about that later…) and all the parts had arrived from around the world for the Control Panel so that made sense to get this weekends focus.
First thing [*true to our principles of the restoration here] is what do we keep and what do we lose?
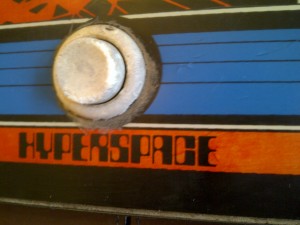
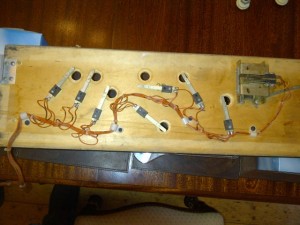
We’ll the buttons are definitely dead – years of dust/something/no love or care have turned them into disintegrating dust as the photo below shows.
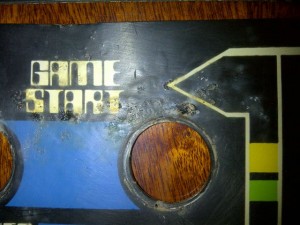
and the control panel itself has been used as a handy ash-tray by a number of Defender playing smokers so I think we are fairly justified in replacing that too
So it’s time for new buttons, new control panel and a general tidy up of everything else 🙂
First thing first, let’s remove the existing buttons so that we can then get the plastic cover off of the control panel.
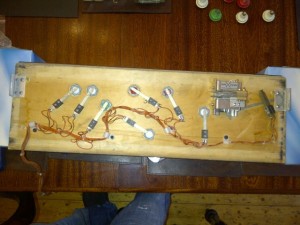
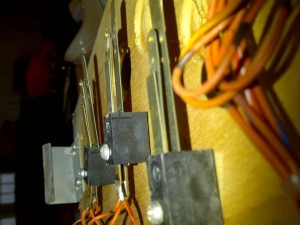
The trick with these is that (as you can see below) each switch that the button presses [when you press the plastic button, it ‘pushes’ together a reed switch that is just below it] has two screws holding it in place on the control panel. Because I don’t want to lose the order they are in, and I’m not much in the mood for labelling them all, I’m going to cheat and _just_ unscrew completely the top screw, loosen the bottom screw and just rotate the switches out of the way so that I can get to the retaining nut for the button.
Cue handy photo…
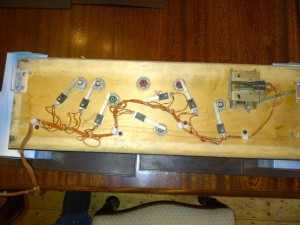
You can see from the red button at the top that I've just rotated the switch out the way.. Much easier 🙂
and then I used a large adjustable spanner to get a grip on the retaining nuts and loosen them – then you can just unscrew them by hand
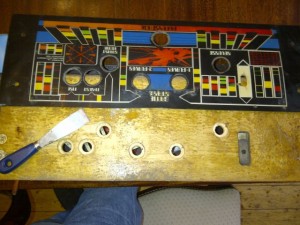
Now it’s time to remove the existing old control panel overlay, from the wooden base it’s connected to. Note I balanced the whole panel on some boxes so that the joystick didn’t mark the table and get in the way 🙂
I’ve seen documentation of people doing this using hair-dryers, industrial glue removers and various other things, whereas I wanted to keep the original control panel overlay for posterity so it’s a very flat paint knife and some gentle levering to remove the glue in-between. Works perfectly
One note in that you obviously have to remove the joystick top/nob to do this and the way to do that is to get two screw drivers and gently prize off the retaining clip (c-clip I think they are really called) that is connected inside the joystick to the very bottom of the main pole.
So now the control panel is off it’s time to update all the parts.
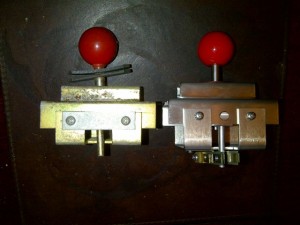
First – I bought a new joystick 🙂
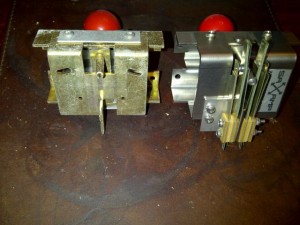
Not sure if that is totally in keeping with my policy of trying to keep it original if I can, but the last one had had a good life and the metal was physically wearing out at the bottom, and technology moves on. So here you can see the new reproduction one versus the original.
So now that everything is out, we have the new Control Panel Overlay that came in from the US last week.
This is so cool – it’s basically printed on 3M backed laminate, and you just pop-out the holes for everything, peel off the sticky back plastic back and _very_ _very_ carefully position it in the right place on the Control Panel
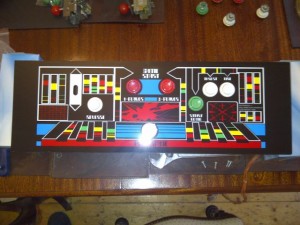
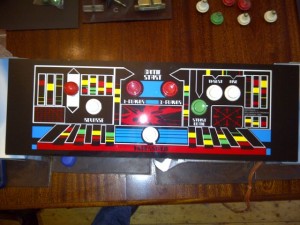
and now a picture of the new one in place stuck to the control panel, and with the buttons reconnected
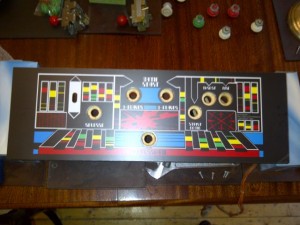
Very carefully lined up (I held it by either edge and the nearest button hole and very carefully lowered it down...)
Interestingly at some point one of the buttons had been replaced with a ‘tall’ button (they come in two sizes, short and tall) so the ‘operator’ had just bent the switches on the bottom to 45 degrees and hoped for the best.
Since we’re doing this ‘properly’ we fitted the right button and bent everything all back straight again.
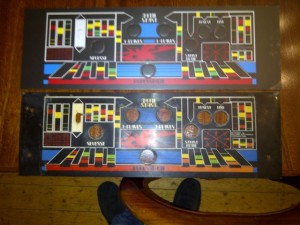
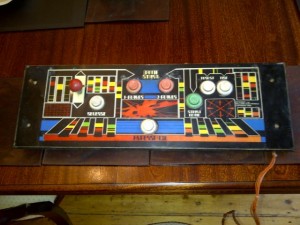
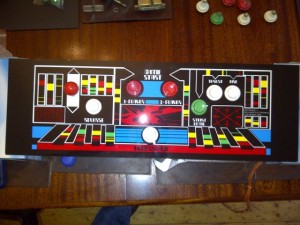
So job done and here’s the before and after for reference
Total Cost and Suppliers for this part:
Replacement Control Panel Overlay – $40 www.arcadeshop.com
Replacement Green Short Leaf Buttons – $6 www.arcadeshop.com
Replacement Red Short Leaf Buttons – $6 www.arcadeshop.com
Replacement White Short Leaf Buttons – $12 www.arcadeshop.com
Shipping from US – $54.50
Replacement Joystick (2-Way Williams Reprostick) – 49,95 Euro www.arcadeshop.de
Shipping from Germany – 23,80 Euro
| Print article | This entry was posted by Judder on April 29, 2012 at 5:32 pm, and is filed under Control Panel, Williams Defender restoration. Follow any responses to this post through RSS 2.0. You can skip to the end and leave a response. Pinging is currently not allowed. |
about 9 years ago
Great information, love Defender, desperate to get a new, well made joystick/leaf switch assembly for my old baby…
about 9 years ago
Have a look at this thread too
UKVac Joust / Defender Joysticks reconditioned
might be able to help get you a better joystick for your Defender – good luck!
about 6 years ago
I’m rebuilding a Defender that doesn’t have a harness. Is there a way to find the lengths, colors, gauges etc for a new harness?
Thanks
about 5 years ago
Question: how do you get the control panel board up and out of the machine to do the work on it? Seems like a pretty essential bit of information, yes? Thanks, Mark
about 3 years ago
Open the coin door, and feel upwards towards the bottom of the control panel – there are two metal pressure clips, one on the right hand side and one on the left hand side, that need to be un-clipped to remove the control panel. HTH